Skip to content

Follow us!

Free shipping 📦- 30 Day free returns

Designed in Denmark 🇩🇰

Get in touch with us

Set up TickrMeter in a few easy steps

Before starting the set up, please make sure you:

1. Have the unit(s) plugged in USB during the whole setup process.

2. Do not stack units during setup, plug each one in individually and let them fully charge before stacking. 

1. Create a TickrMeter cloud account

If you haven't already, click here to create an account.
Remember to confirm your account, by clicking the link in the verification email after signing up.


2. Plug in your TickrMeter and turn it on

Turn your TickrMeter on, by flicking the physical button on the back to the right. 

The light bar will now glow white, and the screen will flicker. This is completely normal.


When the screen says "WiFi HotSpot" it means it's ready to connect your WiFi. 


3. Connect TickrMeter to your Wi-Fi

Open the Wi-Fi settings on your phone and connect to the "TickrMeter" hotspot, as illustrated below.

After connecting to the TickrMeter Hotspot, the following page will show:

Press "Find WiFi" and select the Wifi you want your TickrMeter to connect to.


After connecting, the screen will say "Server Connected!".


4. Assign TickrMeter to your account

Your TickrMeter should now show a 5 digit code, as illustrated below:


These 5 digits are used to connect your device to your TickrMeter account.


Now, log in to TickrMeter portal. and press "New Device", and enter the 5 digits shown on TickrMeter.


You will now be guided on the platform on how to add your preferred stocks and/or cryptos. 


If your device is still showing WiFi hotspot please repeat step 3.

Note: The code is valid for 10 minutes, to refresh it simply restart TickrMeter


5. Getting started with TickrMeter.io

Click below to see the most used features and functions 

Selecting a stock or crypto

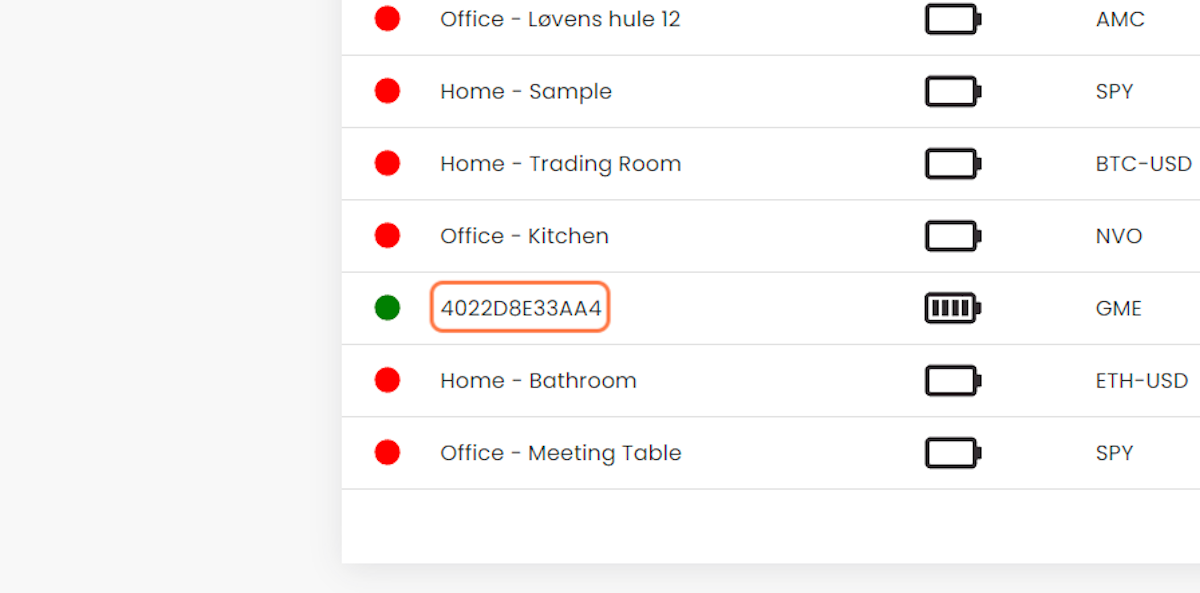
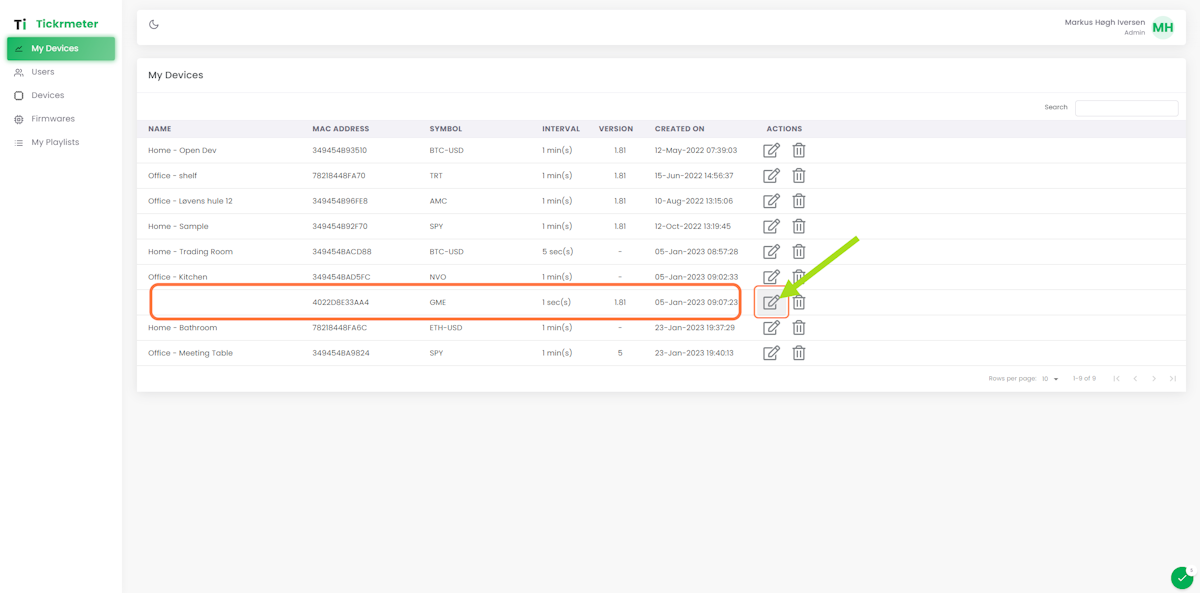
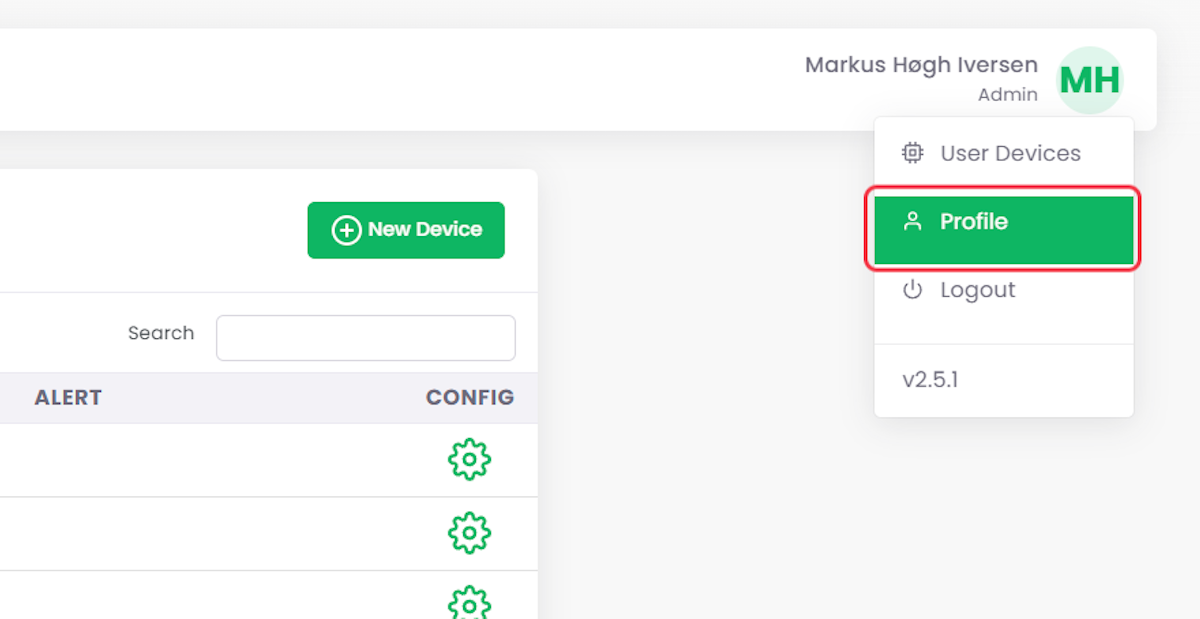
1. Click on your device

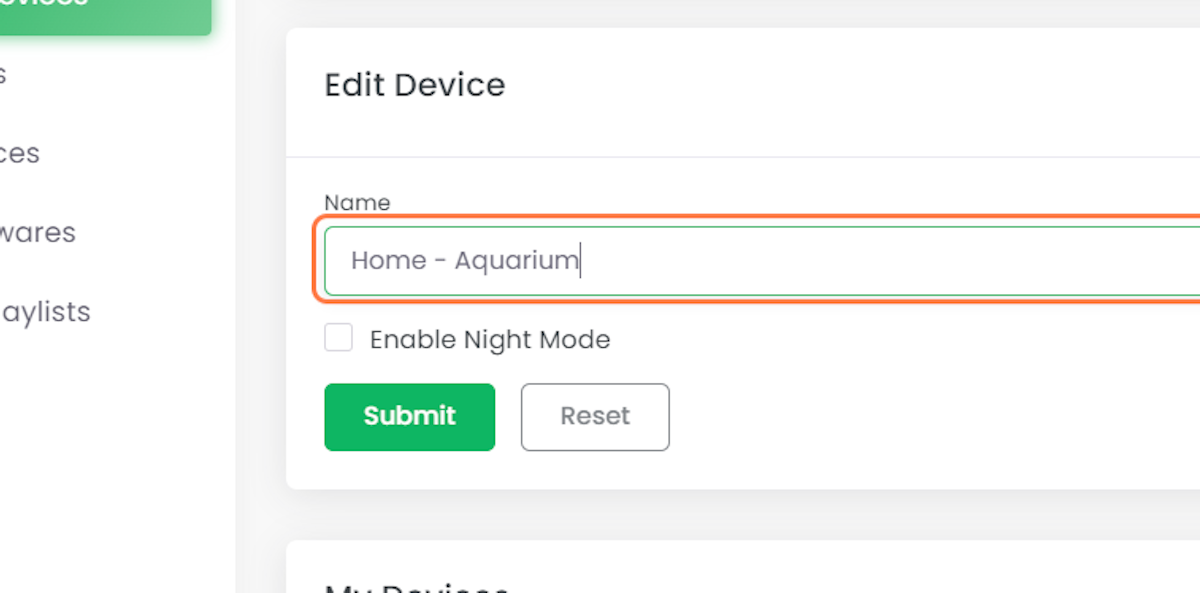
In this example we want to change the Aquarium Tickr

Click on your device

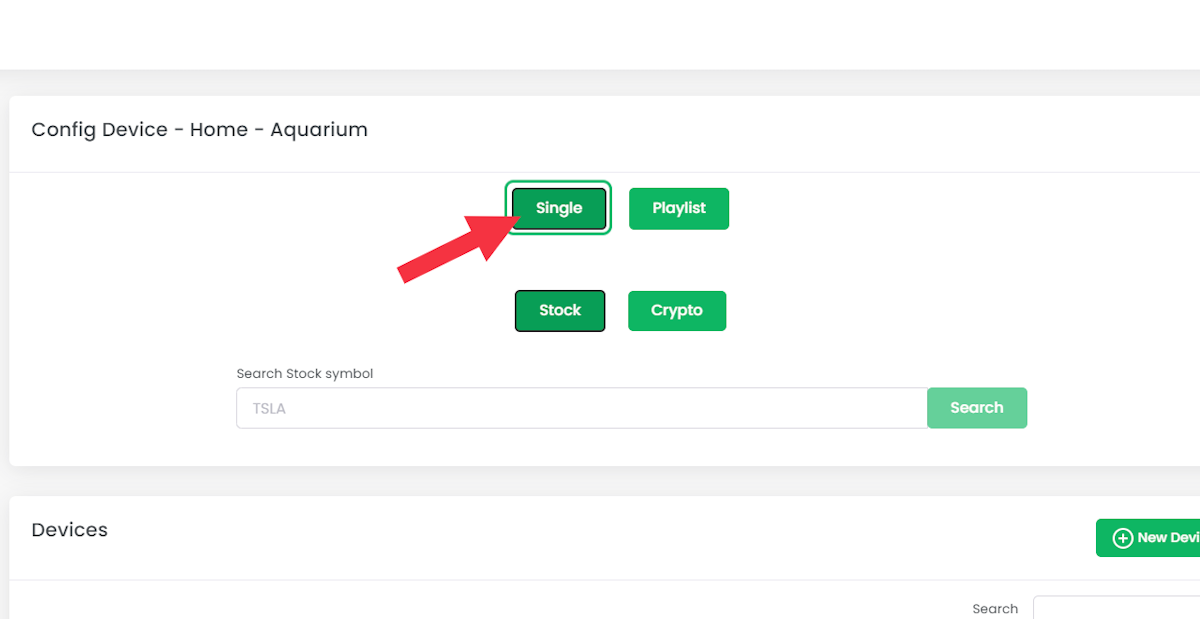
2. Select Single mode

This means that TickrMeter will show the same stock until changed

Select Single mode

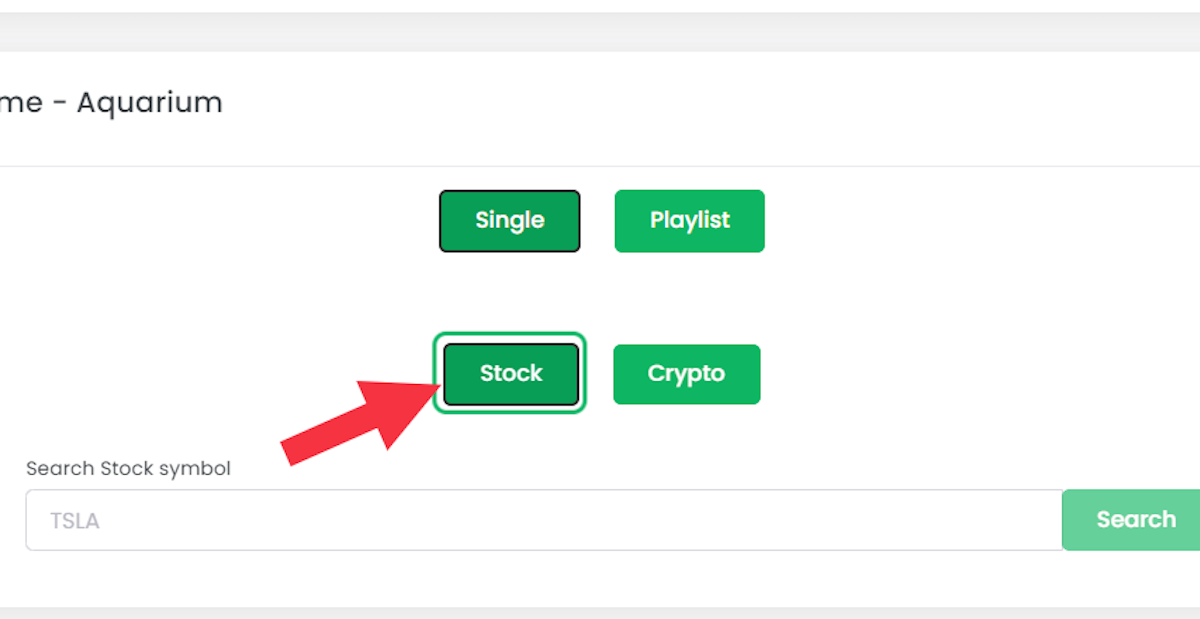
3. Click on Stock or Crypto

In this example we select stocks

Click on Stock or Crypto

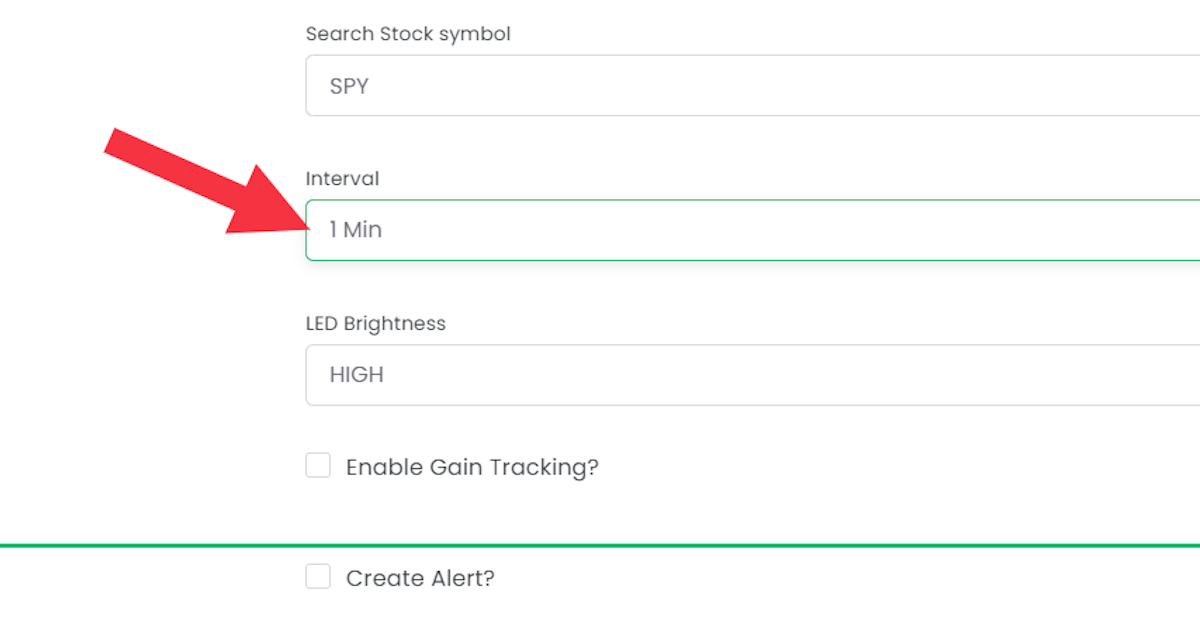
4. Type the stock you wish to show

In this example we want to show SPY
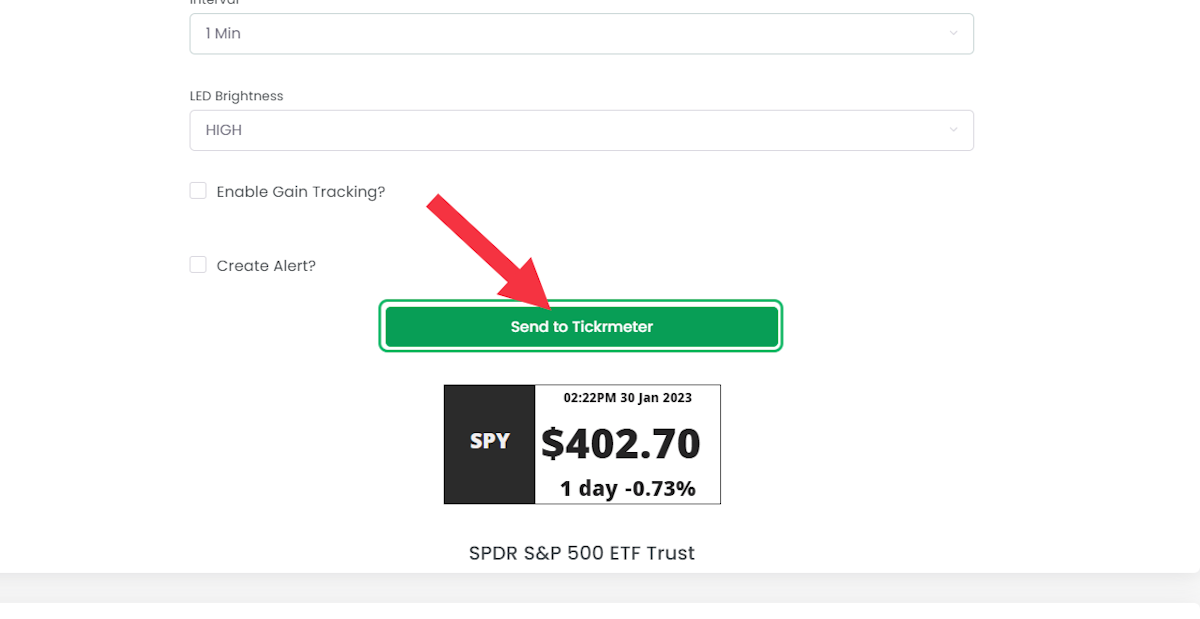
Type the stock you wish to show

5. Choose interval

Interval is how often you want to update the price

Choose interval

6. Click on Send to TickrMeter

Now lean back and watch your portfolio grow

Click on Send to TickrMeter

Renaming Your Device

1. Find the name of the device you want to rename

In this example we will rename the device with the creative name 4022D8E33AA4

Find the name of the device you want to rename

2. Click on the menu in the top corner

Click on the menu in the top corner

3. Go to User Devices

Go to User Devices

4. Click edit on the device you want to edit

Click edit on the device you want to edit

5. Type a new name

In this example we will call it "Home - Aquarium".

(it's on top, not inside the aquarium)

Type a new name

6. Click on Submit

That's it!

Click on Submit

Changing The timezone

1. Click on the menu

Click on the menu

2. Click on Profile

Click on Profile

3. Select your timezone and select save

Remember, TickrMeter shows the time the stock was last traded, this means that if the market is closed, the time shown on your device is when the last trade happened

Select your timezone and select save

Nordic stock symbol list


Need help? 

Contact us at support@tickrmeter.com

Check out TickrMeter Hub

Share TickrMeter use cases or give feedback in the TickrMeter community

Enter Hub